Physical Address
304 North Cardinal St.
Dorchester Center, MA 02124
Physical Address
304 North Cardinal St.
Dorchester Center, MA 02124
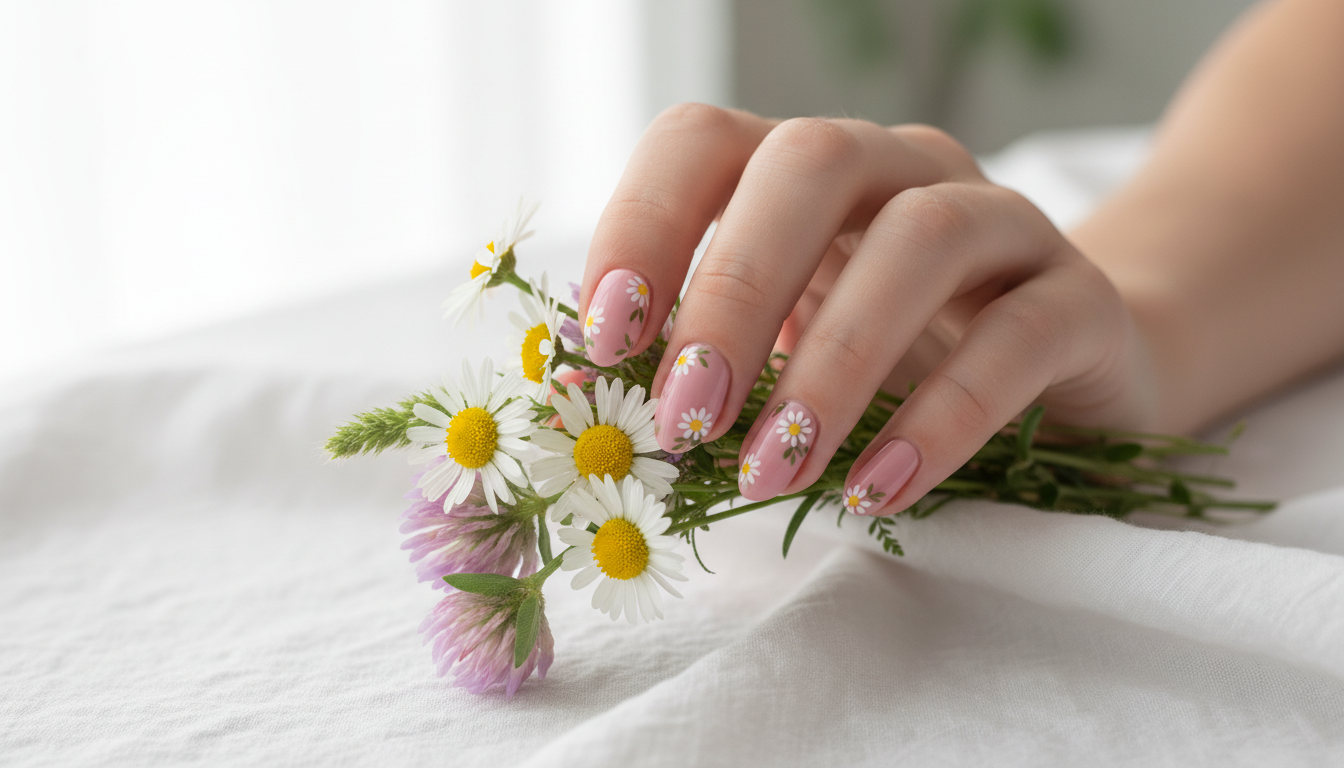
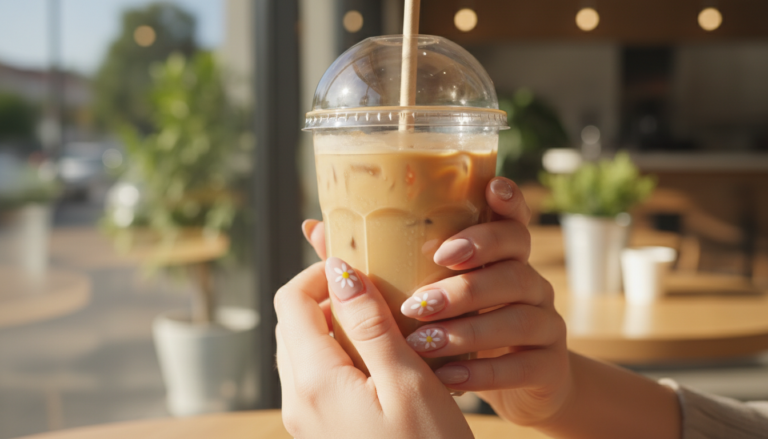
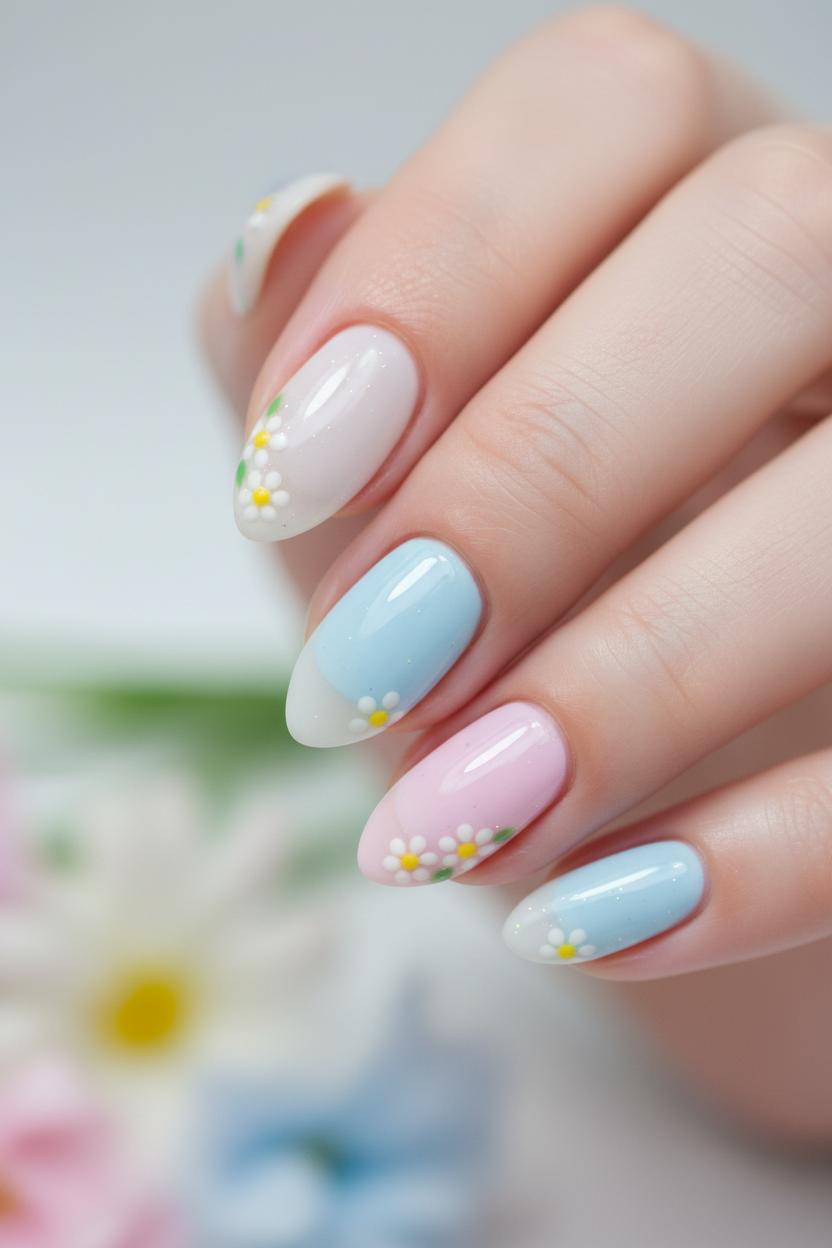
Ready to bloom? This Cute Floral Nails: Pastel Daisies Manicure brings soft, sunny vibes to your fingertips. Think dreamy pastel manicure shades paired with delicate daisy nail art—perfect for spring nail designs and totally doable for short nail ideas. I’ll show you how to get the look with gel nail polish pastel hues, a few precise nail art brushes, easy daisy nail stickers, and a reliable UV LED nail lamp. Finish with a nourishing base and top coat for salon shine and chip-free wear. Fresh, playful, and oh-so-pretty—let your petals pop!
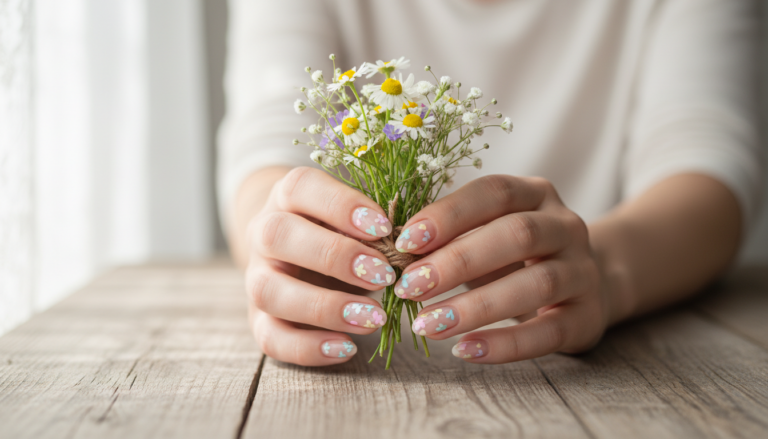
There’s something irresistibly fresh about cute floral nails in spring—the way soft petals and airy color pairings instantly brighten your mood and your outfit. Florals feel like a love letter to the season, and daisies in particular bring that perfect balance of playful and polished. A pastel manicure sets the tone: whispery lilacs, buttery yellows, baby blues, and milky pinks create a light, sunlit backdrop that flatters every skin tone. Even the simplest daisy nail art—five tiny white petals and a sunny dot—looks delicate and intentional, whether scattered like confetti across all ten nails or placed as a single bloom on each ring finger. They’re photogenic without trying too hard, and they transition seamlessly from work to weekend, from picnic dates to spring weddings. That’s why, when I scroll for spring nail designs, I always stop at florals first—they’re endlessly remixable and somehow always feel new.
Floral details also shine on shorter lengths, making them perfect if you’re hunting for short nail ideas that still feel special. You can keep your nails neat and natural, then add petite daisies near the cuticle or along one side for a chic negative-space vibe. And the best part? They’re so DIY-friendly. Lay down a smooth base and top coat, then sweep on your favorite gel nail polish pastel kit for that creamy, even finish. Use fine nail art brushes to paint petal clusters or reach for daisy nail stickers if you want a quick, no-stress option. Cure between steps under a UV LED nail lamp to lock everything in and add gloss that looks salon-worthy. Mix and match accents—one fingertip sprinkled with micro-dots, another with a single bloom—to keep the look light and modern. Whether you go monochrome pastels or a bouquet across your nails, floral details read joyful and intentional, never fussy. They’re a small, wearable way to celebrate longer days and fresh starts, and they make your hands look like they’re holding a little springtime, no matter what you’re doing.
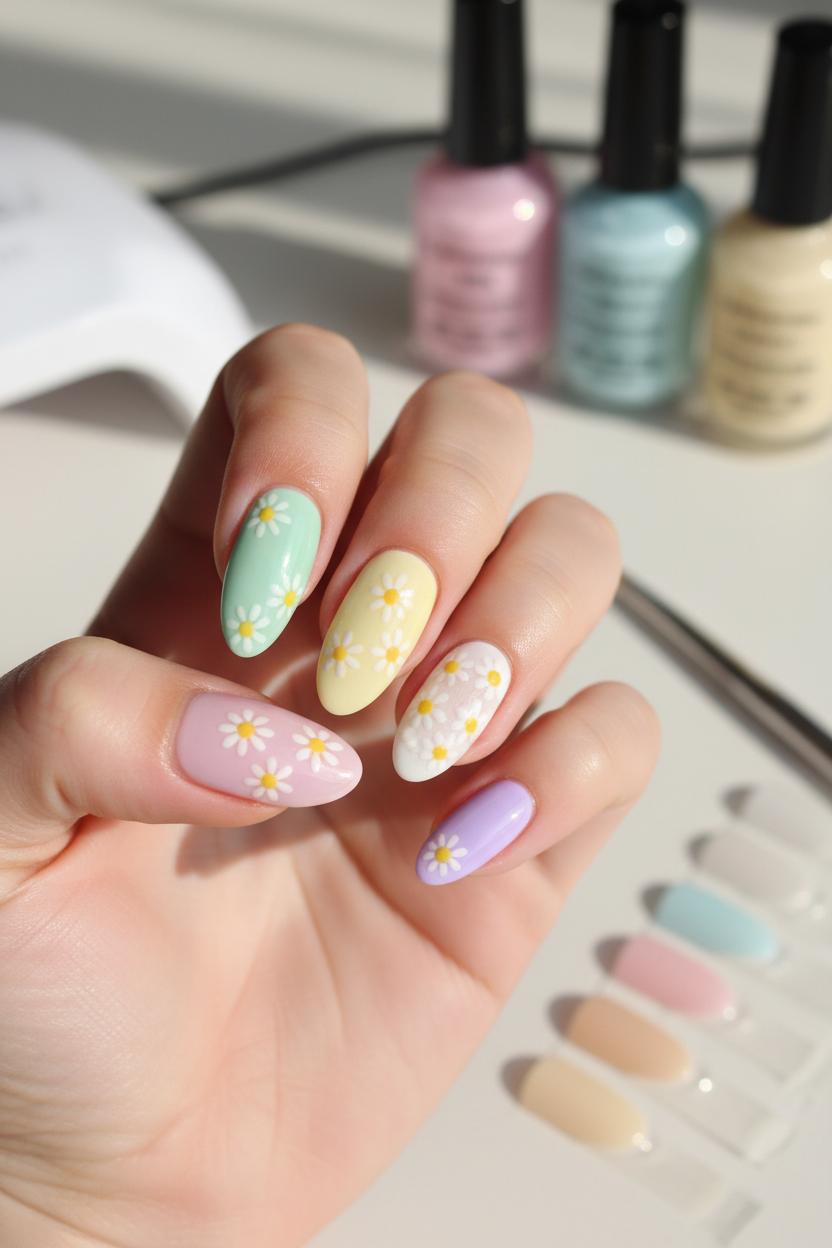
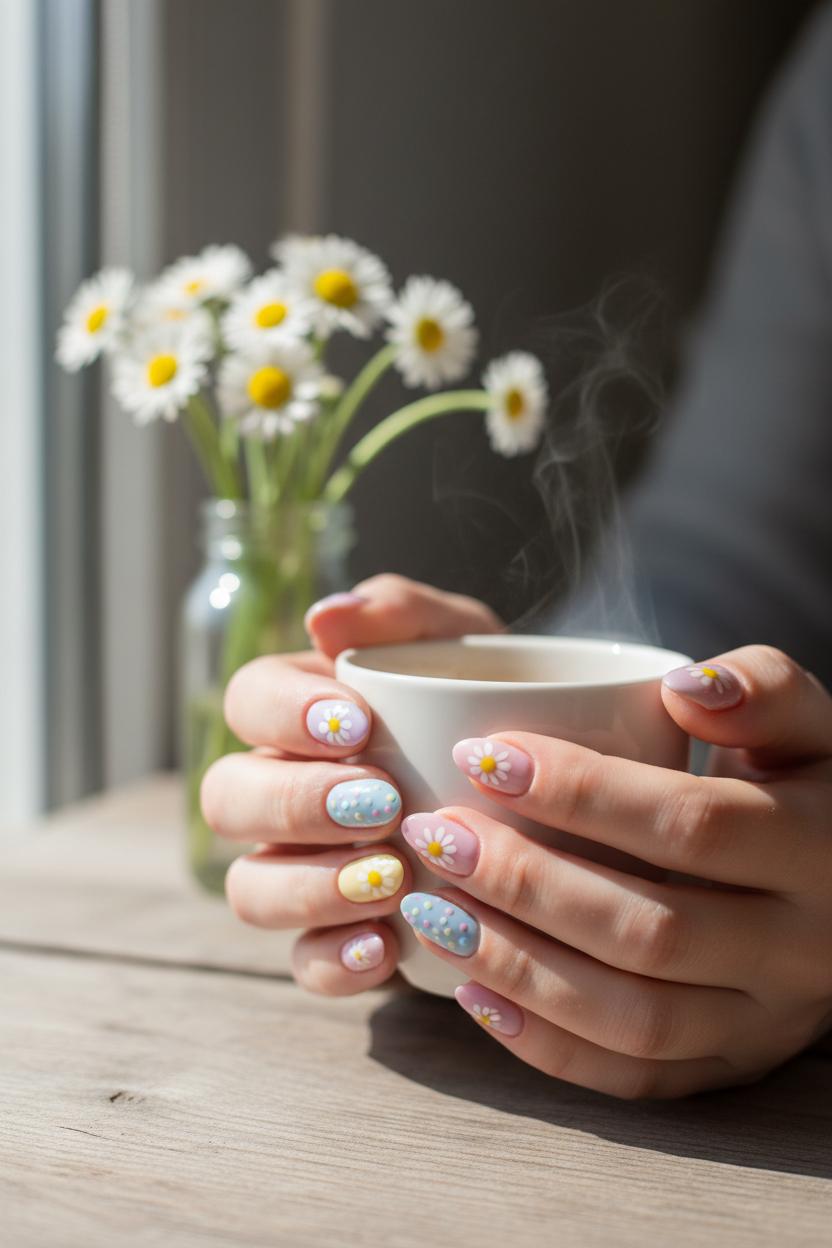
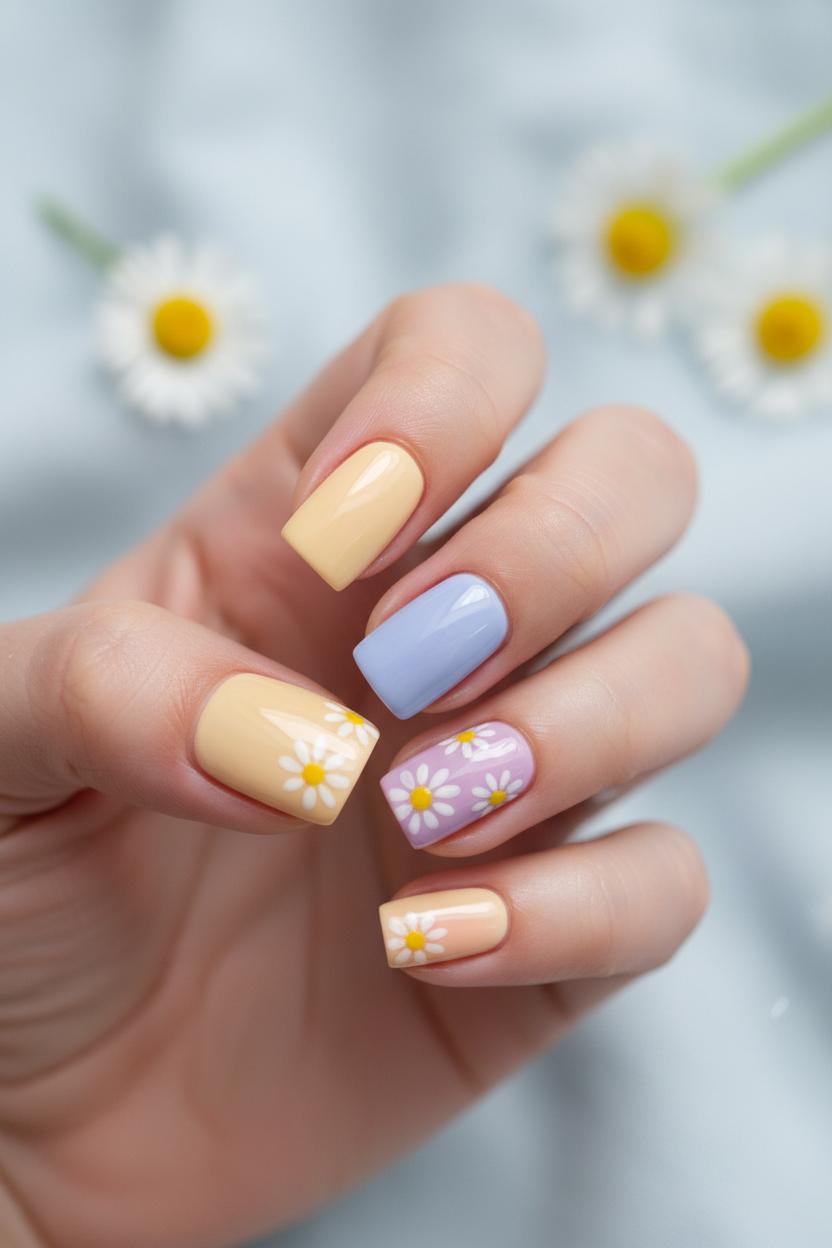
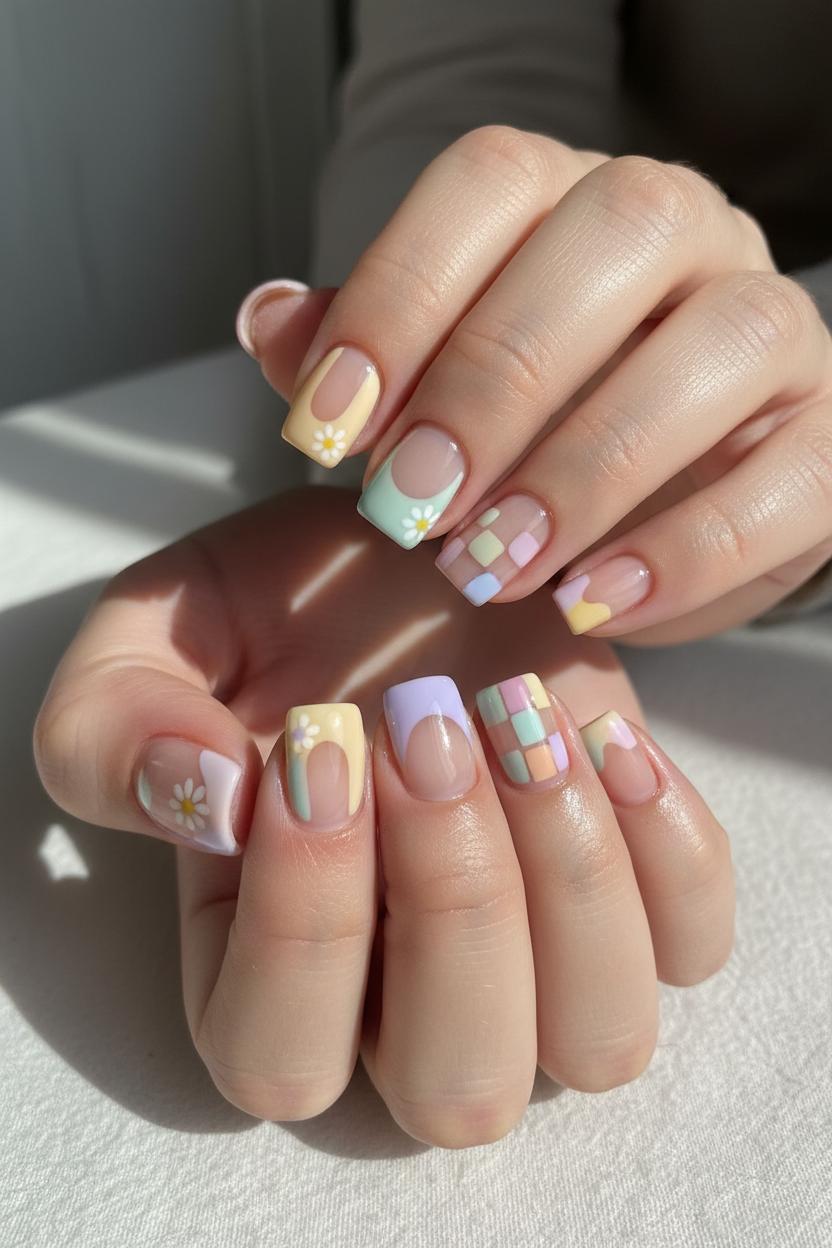
When you’re building a pastel manicure palette for daisy nail art, think in soft-focus layers rather than loud color blocks. Pastels are all about balance—choose two to three main shades that complement your undertone (cool tones love lavender milk, periwinkle blue, and cloud mint; warm tones glow with peach sherbet, buttercream yellow, and blush pink), then anchor them with a milky white or oat-nude so your florals feel airy, not crowded. A gel nail polish pastel set makes this easy, giving you coordinated tones that cure evenly and wear long. Swatch on a strip of tape to see how sheer or opaque they appear on your skin; daisies pop beautifully against sky blue, petal pink, and mint meadow, while a marshmallow white accent nail makes a perfect canvas for a mini bouquet. For spring nail designs, try a “garden gradient”: paint each nail a different pastel—ballet pink, pistachio, lemon sorbet, baby blue, and lilac—so your cute floral nails read like a soft rainbow with daisy centers tying everything together.
Prep is your pastel power move: a smoothing base and top coat will make those light shades look plush, and a gentle buff plus thin layers keeps the finish crisp. Cure each coat under a UV LED nail lamp so the colors stay glossy and chip-resistant. If you’re into short nail ideas, keep the palette light and the art petite—think micro-daisies hugging the cuticle or a single stem placed off-center to elongate the nail. Use nail art brushes or a dotting tool for tiny petals and sunny centers; if you want a quicker path, daisy nail stickers look surprisingly painterly over gel and seal beautifully under a glossy top coat. For a dreamy twist, veil one or two nails with a sheer, jelly pastel and scatter a few daisies on top—negative space keeps it modern. Finish with a satin or glassy top depending on your vibe; matte reads soft-pressed flower, glossy feels fresh-picked. However you mix it, a curated gel nail polish pastel palette turns your daisy nail art into an effortless bouquet you can wear all week.
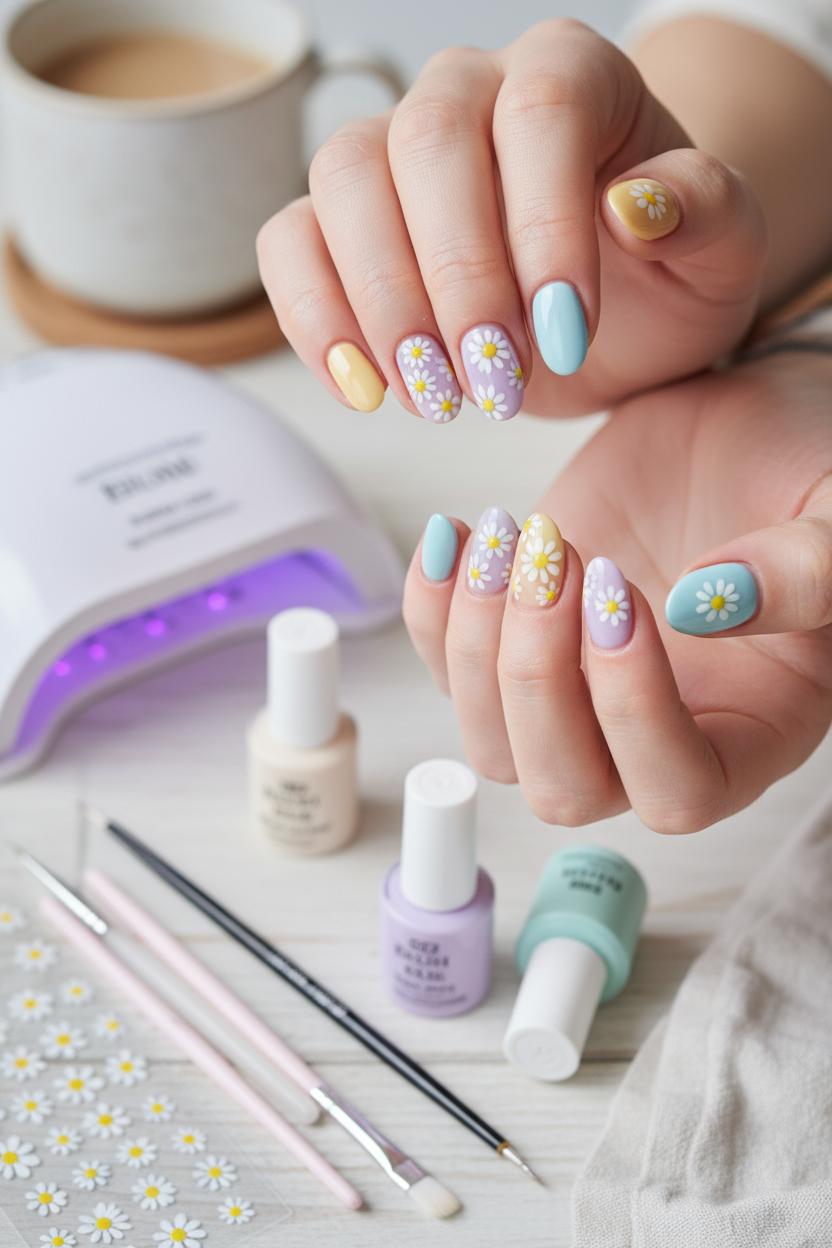
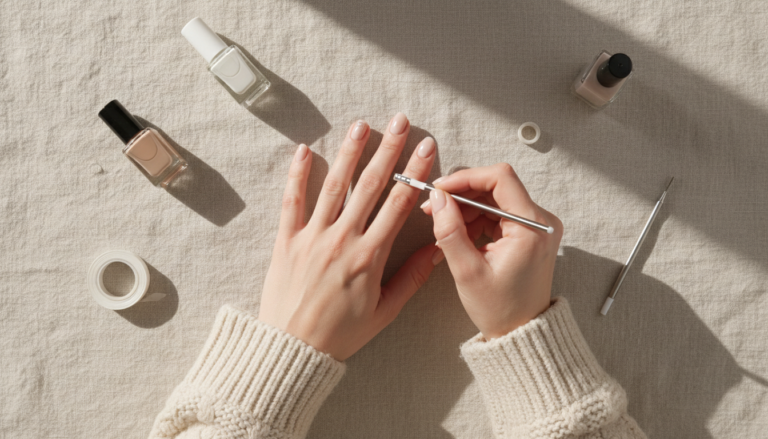
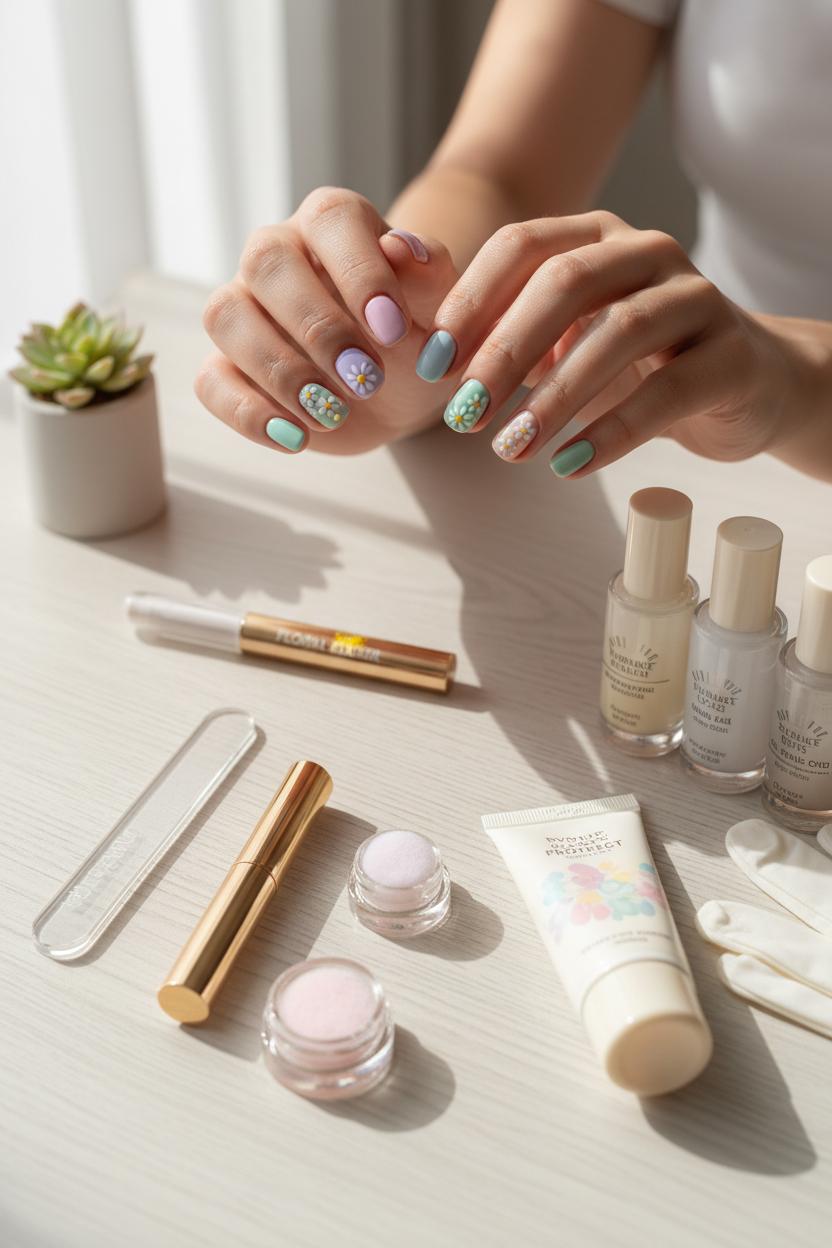
Before you paint a single petal, gather the little toolkit that makes cute floral nails look crisp and professional. Start with a reliable base and top coat to create that smooth, glassy sandwich that keeps everything chip-resistant and shiny. For color, a gel nail polish pastel set is perfect—think buttery lemon, lilac milk, baby blue, and soft mint—because those whisper-light shades let the daisies pop without overwhelming the design. You’ll also want a handful of nail art brushes: a fine liner for petal outlines, a petite flat brush for soft shading, and a dotting tool for those sweet, sunny centers. If you’re more into quick-and-cute, daisy nail stickers are a dream; they deliver clean shapes in seconds and are especially great for beginners or anyone short on time. To lock it all in, a dependable UV LED nail lamp is nonnegotiable for gel; it cures each layer swiftly so your pastel manicure sets smooth and stays glossy. These essentials make a foolproof base for spring nail designs, whether you’re painting tiny meadows or sprinkling just a few blossoms across negative space.
Here’s how they play together: apply your base coat in a thin, even layer and cure under the UV LED nail lamp, then sweep on two sheer coats of your chosen gel nail polish pastel shades, curing between each layer for a plush, streak-free finish. If you’re hand-painting daisy nail art, use the liner brush to sketch five tiny petals, then tap the dotting tool into the center—mix and match colors for a garden effect. Prefer stickers? Float the daisy nail stickers onto tacky color, press gently to remove bubbles, and seal with top coat. Cap your free edge for durability and give everything a final cure so your petals stay pristine. This toolkit works beautifully for short nail ideas too—smaller petals, single-stem accents, or a lone daisy at the corner of each nail keep proportions balanced while still delivering that soft-focus, springtime feel. With just these few pieces, you’ll have everything you need to bloom a full set of daisy nail art that looks delicate, fresh, and totally weekend-brunch-ready.
Before any petals or polka dots, the secret to chip-resistant, cute floral nails is all in the prep. Start by shaping and gently buffing so your surface is smooth, then push back cuticles and cleanse with a little alcohol to remove oils. A quality base and top coat duo is your manicure’s seatbelt—non-negotiable if you want your pastel manicure to last. If you’re using gel nail polish pastel shades, choose a rubber or ridge-filling base to cushion natural nail flex (especially great for short nail ideas), apply a thin layer, and cap the free edge. Cure under a UV LED nail lamp according to your product’s directions. Prefer classic polish? Go for a stain-blocking base that grips color and keeps milky lilacs and buttercreams from yellowing. This smooth, sealed canvas makes daisy nail art easier too; your nail art brushes will glide without catching, and even daisy nail stickers will adhere more evenly.
Once your color is on, protect your bouquet. Float—not drag—a glossy top coat over the design, letting the brush barely touch the surface so you don’t smear petals. Cap those edges again; it’s a tiny step that dramatically reduces tip wear, especially on hands that live on laptops or open lots of packages. For gel lovers, a no-wipe top coat gives a glassy, salon shine that locks in spring nail designs for weeks; cure fully under the UV LED nail lamp and don’t forget thumbs separately to ensure a proper cure. If your daisies include textured centers or layered dots, consider a second thin top coat to “dome” the art and make everything feel smooth. Working with regular polish? Choose a quick-dry top coat, then refresh with a thin reapplication on day three to revive shine and reinforce the seal. A dab of cuticle oil morning and night keeps nails flexible so chips are less likely, and gloves for dishes will help your pastel manicure outlast the weekend. Whether you freehand petals with nail art brushes or place daisy nail stickers for a speedy bloom, the right base and top coat routine is what turns fleeting florals into a week-long garden—proof that the prettiest spring nail designs start with smart protection.
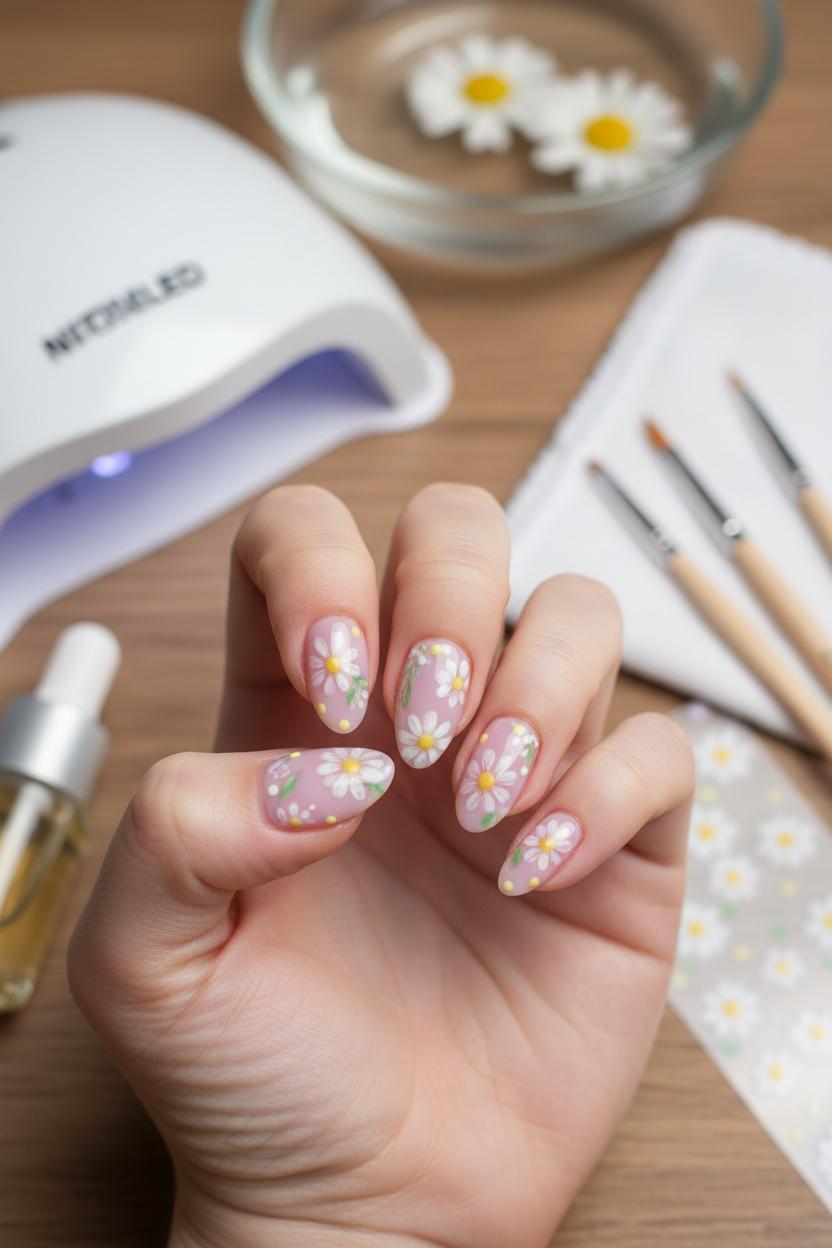
Start with a smooth, dreamy base so your daisies pop. Shape and buff, then swipe on your favorite base and top coat duo’s base layer to protect and grip the color. For that airy pastel manicure vibe, pick a gel nail polish pastel set—think butter yellow, lilac, baby blue, or a milky peach—and paint two thin coats. If you’re using gel, cure between layers under a UV LED nail lamp for that glassy, chip-resistant finish. Short nails? Even better. This look is one of those short nail ideas that still feel soft and romantic, with plenty of room for tiny blooms without overwhelming the nail.
Now for the petals. Grab your finest nail art brushes and a crisp white. Load just the tip, then dot five tiny petals in a loose circle—tap, lift, rotate—to create a daisy silhouette. Don’t stress about perfect symmetry; the charm of hand-painted daisy nail art is in the delicate, slightly wild edges. Add a sunshine-yellow center with a micro dot; if you don’t have a dotting tool, the end of a bobby pin is a cute hack. Scatter a couple of full daisies across accent nails and tuck half-daisies along the edges of others so they peek in, like a field just beyond the frame. Mix sizes for movement, and leave a little negative space so the design breathes. If freehand isn’t your thing or you’re short on time, layer in a few daisy nail stickers as “ringer” blooms—press them into the tacky layer before sealing and they’ll blend right in with the painted petals.
Once your flowers are set, add the magic shield: a generous layer of top from your base and top coat, floating the brush so you don’t drag the art. Cure if you’re working with gel under the UV LED nail lamp, and finish with a swipe of cuticle oil. The result is the prettiest set of cute floral nails—soft, sweet, and totally fresh. It’s a go-to for spring nail designs, but honestly, these hand-painted blooms feel like a little pocket of sunshine any time of year.
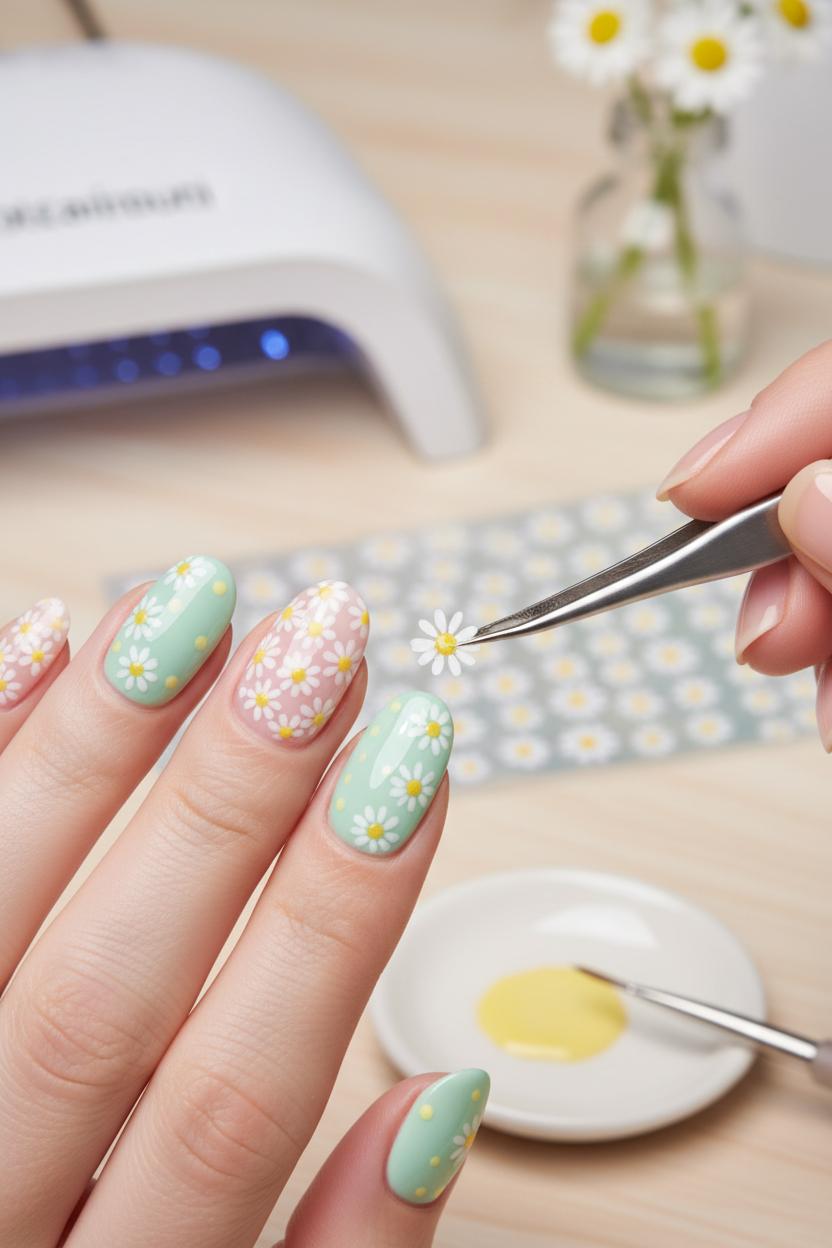
If you’re craving cute floral nails without the fuss of painting each petal, daisy nail stickers are the sweetest shortcut. They’re perfect for a pastel manicure when you want that soft, airy vibe of spring nail designs but don’t have the time (or patience) for detailed brushwork. Start by prepping your nails, then apply a thin base and top coat combo—base first, of course. If you love gel, sweep on two coats of a gel nail polish pastel shade (think butter yellow, mint, lilac, or sky blue), curing each layer under a UV LED nail lamp. Once your color is set and smooth, it’s sticker time. Choose petite blossoms for short nail ideas so the proportions feel dainty, then place a few blooms off-center for that effortless, scattered-field look that screams daisy nail art without trying too hard.
Use tweezers to lift the daisy nail stickers and press them down firmly, smoothing from the middle to the edges so there’s no lift. If you want to customize, dip your nail art brushes into a dot of pastel or sunny yellow and add tiny centers or baby polka dots between flowers—it’s a simple touch that makes the design feel intentional. Seal everything with a generous, glossy top coat, capping the free edge to lock it in. With gel, give it a final cure under your UV LED nail lamp; if you’re wearing regular polish, let it dry fully before you do anything else. The result is a clean, cushy shine that looks salon-polished in a fraction of the time.
Design-wise, mix and match: a full daisy field on two accent nails, a few blooms sprinkled over negative space, or a side-swept cluster hugging the cuticle for a fresh twist on French. For ultra-quick mornings, keep a sheet of daisy nail stickers in your vanity and layer them over a single gel nail polish pastel shade—you’ll have breezy spring nail designs in minutes. It’s the kind of low-effort, high-charm manicure that makes your hands look instantly pulled together, whether your nails are short and sweet or a little longer and oval.
If your nails are on the shorter side, pastel daisies are a sweet little trick for making them look longer without adding extensions. Think of this pastel manicure as optical contouring: a sheer nude base visually blends with your natural nail, while delicate daisy nail art draws the eye upward. I like to start with a smoothing base and top coat and one thin layer of a sheer pink or milky neutral, then float on petals in soft gel nail polish pastel shades—butter yellow, baby blue, lilac, and mint—keeping most of the color toward the tip. Placing the flowers slightly higher on the nail creates that elongated effect, and leaving negative space near the cuticle keeps things fresh and airy, perfect for spring nail designs and everyday cute floral nails.
For placement, try tiny half-daisies peeking in from one sidewall or a single mini bloom anchored just below the free edge with a slim, vertical stem; both layouts pull the gaze lengthwise. Use fine nail art brushes to keep petals skinny and crisp, and add a micro-French smile line in soft white beneath the florals to subtly extend the tip. If you’re short on time, daisy nail stickers are a foolproof shortcut—press them on over your color, seal well, and they look hand-painted. I love mixing scales: one statement daisy on the ring finger, scattered micro-buds on the others, all in the same pastel palette so the look stays cohesive. It’s one of those short nail ideas that feels playful yet polished.
If you’re working with gel, flash-cure each flower as you go under a UV LED nail lamp so the petals don’t melt into one another, then finish with a glossy top coat for that glassy petal effect—or go matte for a soft, chalky bouquet vibe. Skittle pastels (a different shade on each nail) make the daisies pop even more, while a whisper of gold dot at the center adds a sunny touch. The result is airy, feminine, and wonderfully lengthening: a tiny meadow at your fingertips that proves cute floral nails can be minimal, modern, and totally short-nail friendly.
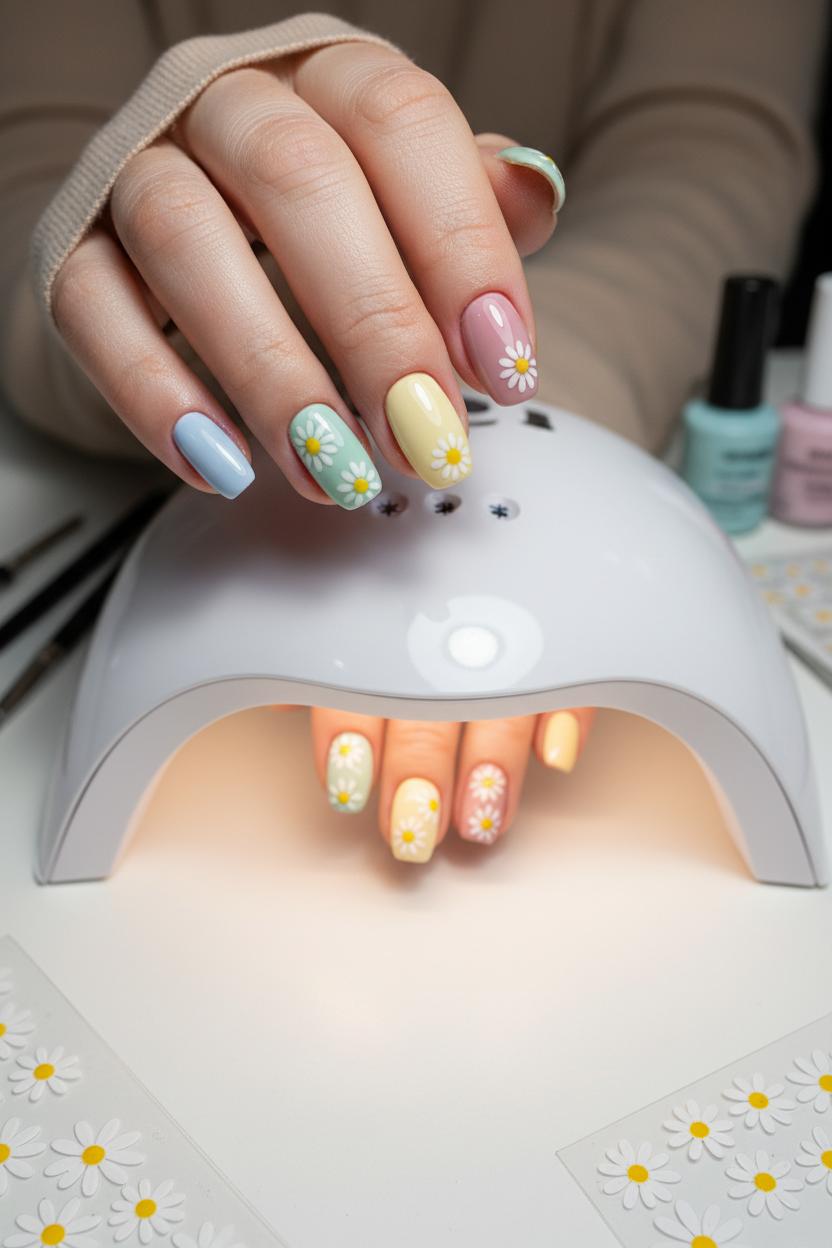
Once your petals are painted and you’re happy with the placement, the secret to that professional, glassy finish is a good UV LED nail lamp. Think of curing as the moment your cute floral nails go from “wet paint” to “blooming perfection.” Start with a thin layer of base and top coat’s first half—the base—and cure 30–60 seconds depending on your lamp’s instructions. Apply two whisper-thin coats of your chosen gel nail polish pastel tones for the softest pastel manicure; cure each layer separately, keeping your nails flat under the light and capping the free edge to lock in color. For crisp daisy nail art, use fine nail art brushes to sketch petals and dot the sunny centers, or pop on daisy nail stickers if you want quick, uniform blossoms. Flash cure the art for 15–30 seconds so nothing shifts, then give it a full cure. If you’re working with short nail ideas, thin layers are your best friend—they keep the nail looking delicate, not bulky, while still delivering that sweet, springtime vibe we love in spring nail designs.
Your UV LED nail lamp does more than harden polish—it levels everything and amps up the shine. Aim for a lamp with solid wattage so your gel sets evenly; cure thumbs separately so they sit flat and don’t wrinkle. Float your top layer of base and top coat—let the brush glide so it doesn’t carve into your daisies—and seal the edges before a final 60–90 second cure for that ultra-gloss, glazed-petal look. If your top coat isn’t no-wipe, a quick swipe with alcohol removes the tacky layer. Keep the lamp clean, position your hand centrally for full coverage, and protect your skin with fingerless gloves if you’re sensitive. Finish with a drop of cuticle oil once everything cools, and admire how the shine makes each tiny bloom look freshly picked. With a reliable UV LED nail lamp, a couple of patient, thin coats, and the right tools—nail art brushes for detail, daisy nail stickers for speed—you’ll get salon results at home every time, whether you’re crafting a full bouquet or a single sweet daisy on each fingertip.
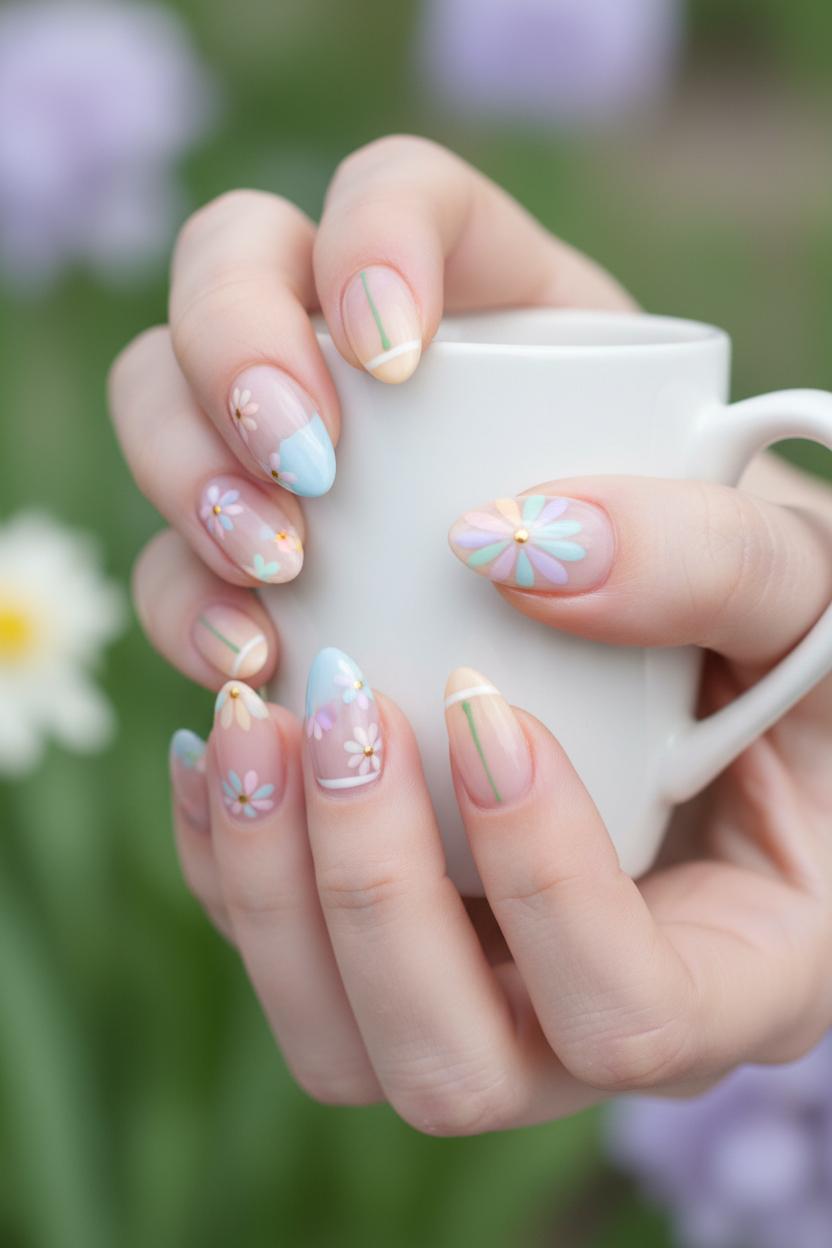
There’s something so fresh about letting your nails breathe a little in spring—soft color drifting across the tips while natural nail peeks through like morning light. For cute floral nails that feel modern, pair a pastel manicure with intentional negative space. Think a whisper of butter yellow skimming one side, a lilac arc curving near the cuticle, or a mint half-moon that leaves the center sheer, then drop in a single daisy for that cheerful garden vibe. Negative space keeps even sugary shades feeling crisp, and it’s extra flattering if you’re browsing short nail ideas because those clear windows visually lengthen the nail. Favorite combos this season: lilac with lemon, blush with mint, periwinkle with peach, or a minimalist trio of cloud white, ballet pink, and sky blue scattered across different nails.
Design-wise, try a side-swoop of color and leave a slim nude channel running diagonally, then anchor it with tiny daisy nail art near the edge. A micro French is another easy win: skinny pastel tips, a bare nail bed, and a single daisy at the corner like a wink. You can also make a checkerboard where every other square is simply the natural nail, or carve out a crescent at the cuticle and frame it with five soft petals. If you’re working with gels, a gel nail polish pastel set lays down opaque, candy-smooth color that won’t overwhelm the negative space. Use nail art brushes for those delicate arcs and petal outlines, or cheat it with daisy nail stickers for perfect blooms in seconds. Don’t forget a grippy base and top coat, and cure between layers under a UV LED nail lamp for a glossy, long-wearing finish that looks salon-fresh.
To pull it together, start with a sheer nude to blur any imperfections, map out your negative space with a striping brush or French guide, then float on your pastels, keeping edges clean and airy. Cluster a mini bouquet on one accent nail or sprinkle single blooms across the set so it feels light and wearable. These spring nail designs are office-friendly, brunch-ready, and charming on every length, but especially great for short nails where every millimeter counts. Mix, match, and let the empty space do the styling—your daisies will look even sweeter.
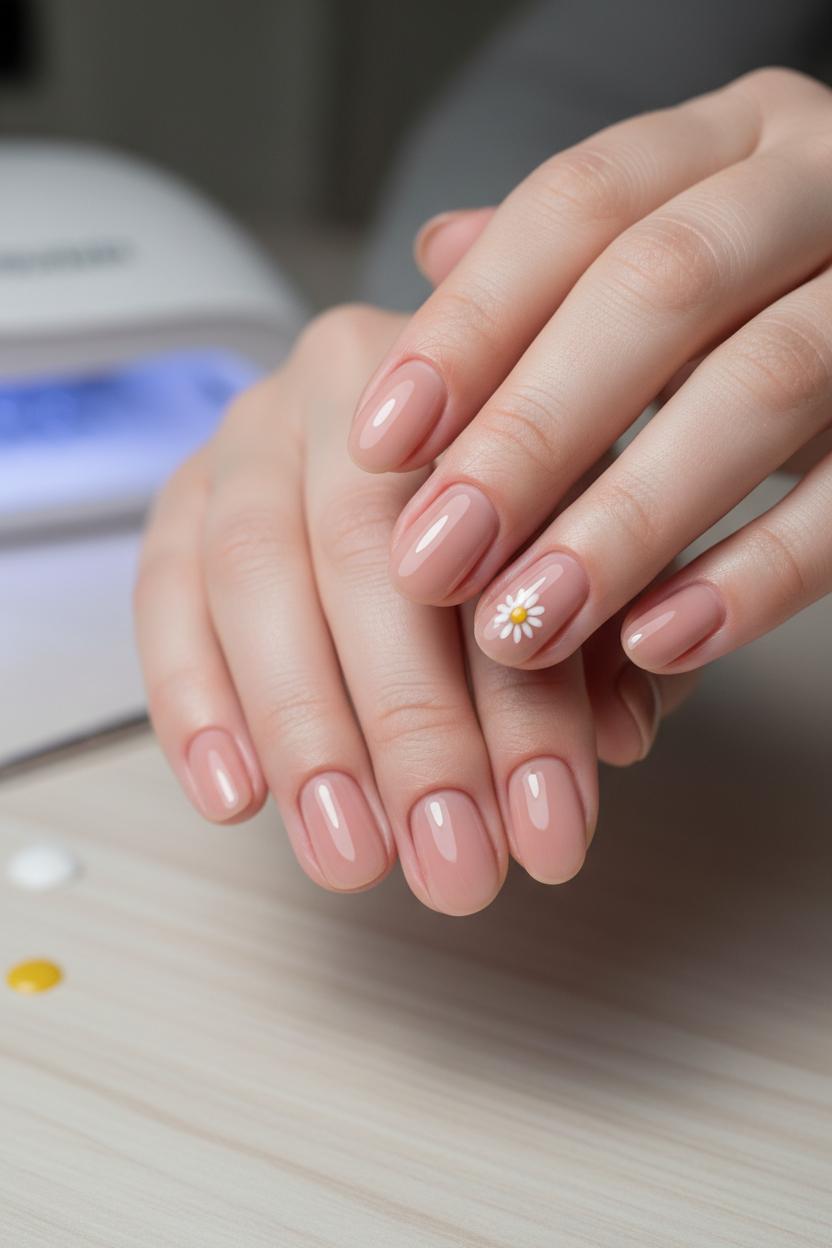
If you love the idea of daisies but aren’t sure how bold you want to go, think of accent nails as your style dial. For a minimal, everyday version of daisy nail art, keep most nails glossy and clean with a sheer nude or a single-wash pastel manicure, then add one delicate bloom on your ring finger. A tiny white daisy with a buttery-yellow dot looks especially chic over negative space, and it flatters short lengths beautifully. Pop on a smooth base and top coat, paint with a gel nail polish pastel set (baby blue, lilac, or mint are perfect), and cure under a UV LED nail lamp for that glassy, chip-resistant finish. If freehand isn’t your thing, daisy nail stickers are an instant shortcut—float a petite sticker near the cuticle or off-center at the tip for a subtle, editorial placement. Nail art brushes also make quick work of micro-petals, especially on short nail ideas where small-scale details shine.
When you’re ready to mix-and-match, turn your fingertips into a little meadow. Try a skittle approach by assigning each nail its own pastel and alternate between full blooms, daisy outlines, and simple dot clusters that hint at petals—this keeps the look cohesive while still playful. You can pair a daisy-filled accent nail with minimalist French tips on the others, or scatter one to three flowers per nail for a sweet, not-too-busy vibe. For maximalists, layer daisies over soft swirls or gingham-style checks in complementary shades and add a single statement nail with overlapping blooms for that Pinterest-ready pop. These cute floral nails are some of the most versatile spring nail designs because they work on every length and shape; on shorter nails, scale the petals down and let a little negative space breathe, while longer nails can handle stacked flowers and tiny leaf accents. Lock everything in with a glossy top coat for shine or a soft-touch matte for a dreamy finish. Whether you’re tapping on daisies with stickers or painting petal-by-petal with brushes, the mix-and-match approach makes your manicure feel personal, polished, and perfectly in bloom.
Pastels are dreamy, but gel can be picky. If your gel nail polish pastel looks streaky or chalky, it’s usually from coats that are too thick. Float the brush and apply two to three whisper-thin layers over a smooth base and cure each coat fully under a UV LED nail lamp. Let the polish self-level for a few seconds before you cure, and always cap the free edge to prevent shrink-back. A sheer milky white layer under your color can boost opacity without bulk—great for a soft pastel manicure that still reads clean in photos. If the color wrinkles or stays tacky, you’ve either under-cured or laid it on too thick; thin it out, cure thumbs separately, and check that your lamp is powerful and bulbs aren’t fading. Finish with a thin base and top coat to keep that glassy look without adding weight.
Peeling near the cuticle is usually prep-related. Push back the cuticles, gently remove the invisible cuticle on the nail plate, and wipe with a dehydrator or alcohol. Keep product a hairline away from the skin and never flood the sidewalls—gel can’t grip skin and will lift. Dust and lint cause bumps that ruin otherwise cute floral nails, so use a soft brush between steps and switch to lint-free wipes. If your pastel shades are pulling away at the edges, roll the bottle between your hands to remix, don’t shake, and let each layer settle before curing. For dull top coats, avoid wiping with acetone; use alcohol if needed, or choose a no-wipe glossy top.
For the daisy nail art, blobby petals happen when polish is slipping on a slick surface. Work on the tacky layer of color or lightly buff and clean before painting. Use fine nail art brushes or a dotting tool (a bobby pin works in a pinch) to place five small dots in a circle and a sunny center, then flash-cure each flower so it doesn’t travel. If you prefer shortcuts, press daisy nail stickers into the tacky layer, burnish the edges firmly, and seal with two thin top coats so nothing lifts. On short nail ideas, keep florals petite and clustered near one corner to elongate the nail. These tiny tweaks keep your spring nail designs fresh, crisp, and oh-so-wearable.
You’ve painted the sweetest little daisies—now let’s help them last. The secret to long-wearing cute floral nails starts with a flawless seal. After your petals are dry, float on a thin layer of top coat and be sure to cap the free edge so your design doesn’t chip when you type or tap. If you’re wearing a gel pastel manicure, cure each sealing layer under a UV LED nail lamp for a glassy, keep-forever finish; with classic polish, let each coat fully dry before moving on. I like to refresh shine every 3–4 days with another whisper-thin top coat, which keeps daisy nail art looking newly bloomed. If you’re prone to chips, a reliable base and top coat duo makes all the difference, especially when working with a set of gel nail polish pastel shades that can be a bit softer in tone.
Hydration is your daily insurance policy. Massage cuticle oil morning and night to keep the nail plate flexible and prevent micro-cracks in your spring nail designs, then follow with a hand cream that sinks in fast. Slip on gloves for dishes and gardening, avoid long steamy soaks right after painting, and when you apply sunscreen, rub it into your hands first and quickly wipe the nail surface so filters don’t dull the gloss. For tiny snags, use a glass file to smooth the edge and add a quick swipe of top coat. If you used gel, resist all peeling temptations; if removal day comes, file the shine and do a proper soak-off instead of picking, so your nails stay strong for the next round of daisies.
When your manicure needs a little refresh, think embellish rather than redo. A micro-dot of pastel at a chip, feathered with nail art brushes, can camouflage wear in seconds. Or lean into playful layering: place daisy nail stickers over a scuff like confetti, then seal. For short nail ideas, try a single petite bloom off-center or a dainty daisy cluster near the cuticle to extend grow-out gracefully. Lightly buff, add a fresh top coat, and your daisy nail art gets a second life without starting from scratch. Keep a mini kit—oil pen, travel cream, tiny file—in your bag, and your pastel manicure will stay photo-ready long after the first petals pop.
From soft sherbet shades to tiny dotted centers, this pastel manicure turns everyday nails into a pocket of sunshine. Try daisy nail art as accent blooms or a full meadow; it’s perfect for spring nail designs and easy, chic short nail ideas. These cute floral nails pair with any outfit, and the look is beginner-friendly—just layer pastels, dot daisies, seal with shine. Save this for your next at-home spa night or salon visit, and let your fingertips whisper spring with every wave.