Physical Address
304 North Cardinal St.
Dorchester Center, MA 02124
Physical Address
304 North Cardinal St.
Dorchester Center, MA 02124
Dreaming of fresh herbs and veggies without tearing up your yard? Build beautiful raised garden beds this weekend—perfect for any DIY garden, from patios to small space gardening. I’ll show you the simple steps, smart garden ideas, and budget-friendly supplies to kickstart vegetable gardening fast. Think a cedar raised garden bed kit, organic potting soil, and a rich garden soil mix, topped with weed barrier fabric and a no-fuss drip irrigation kit for effortless watering. By Monday, you’ll have a tidy, productive plot that looks gorgeous and grows even better.
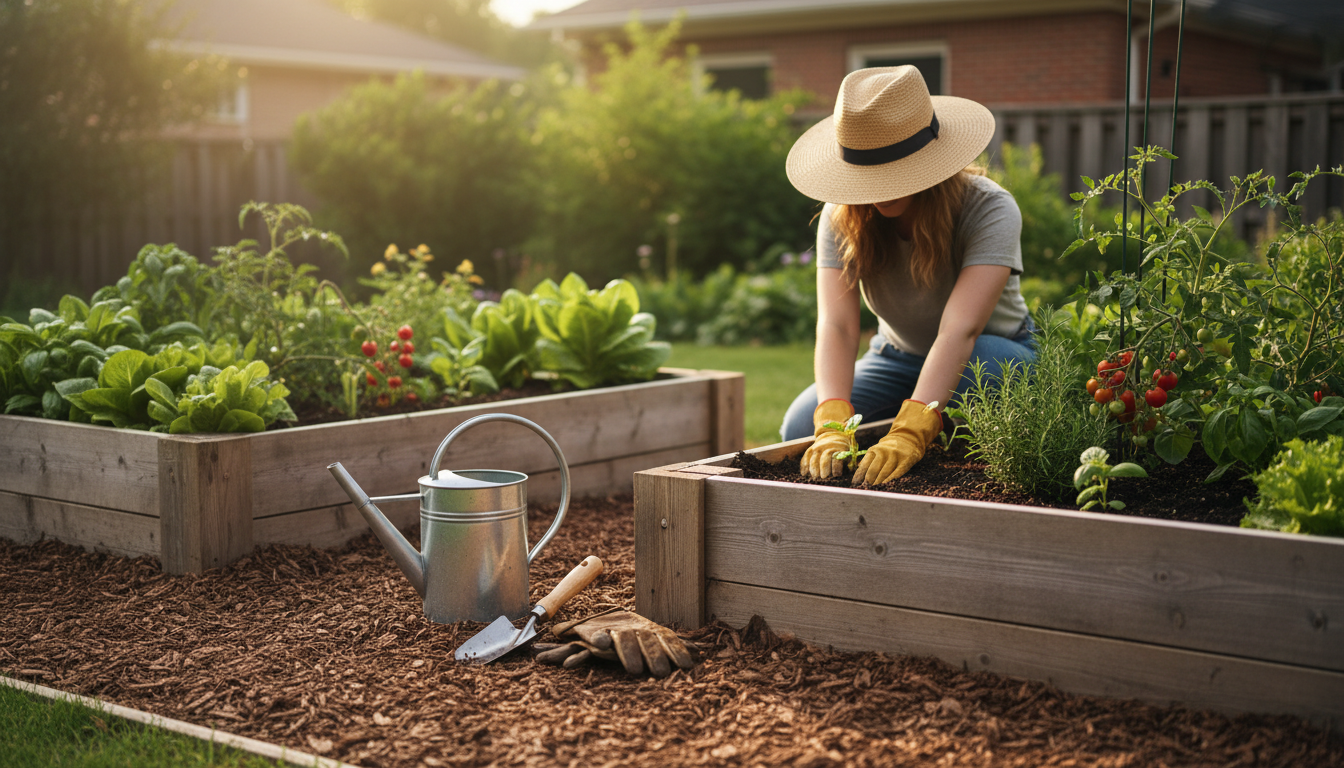
There’s something so satisfying about transforming a bare corner of the yard into a tidy, abundant patch over a single weekend, and raised garden beds deliver that instant gratification. They’re approachable, pretty, and practical—everything a good DIY garden project should be. You can map out a simple rectangle on Saturday morning, build after lunch, fill by late afternoon, and be tucking in seedlings before the sun sets. For renters or first-time homeowners, raised garden beds feel low-commitment but high-impact: they define space, create clean lines, and instantly make your backyard look intentional. They’re also endlessly customizable—whether you’re craving a narrow bed along the patio for herbs or a series of matching frames to anchor your vegetable gardening dreams, this is one of those garden ideas that scales to your time, budget, and space.
Beyond the quick win, the real magic is control. Instead of battling poor native soil, you get to start fresh with a fluffy garden soil mix blended with organic potting soil, which means better drainage, fewer weeds, and happier plants from day one. Add a layer of weed barrier fabric at the bottom, and you’ll dramatically cut down on maintenance all season long. Because beds sit higher and warm up faster, they’re perfect for early spring planting and for small space gardening in narrow side yards or sunny driveway strips. The elevated edges also make everything easier on your back and keep pathways neat—no more stepping on roots or compacting precious soil while you water, harvest, or arrange your trellises.
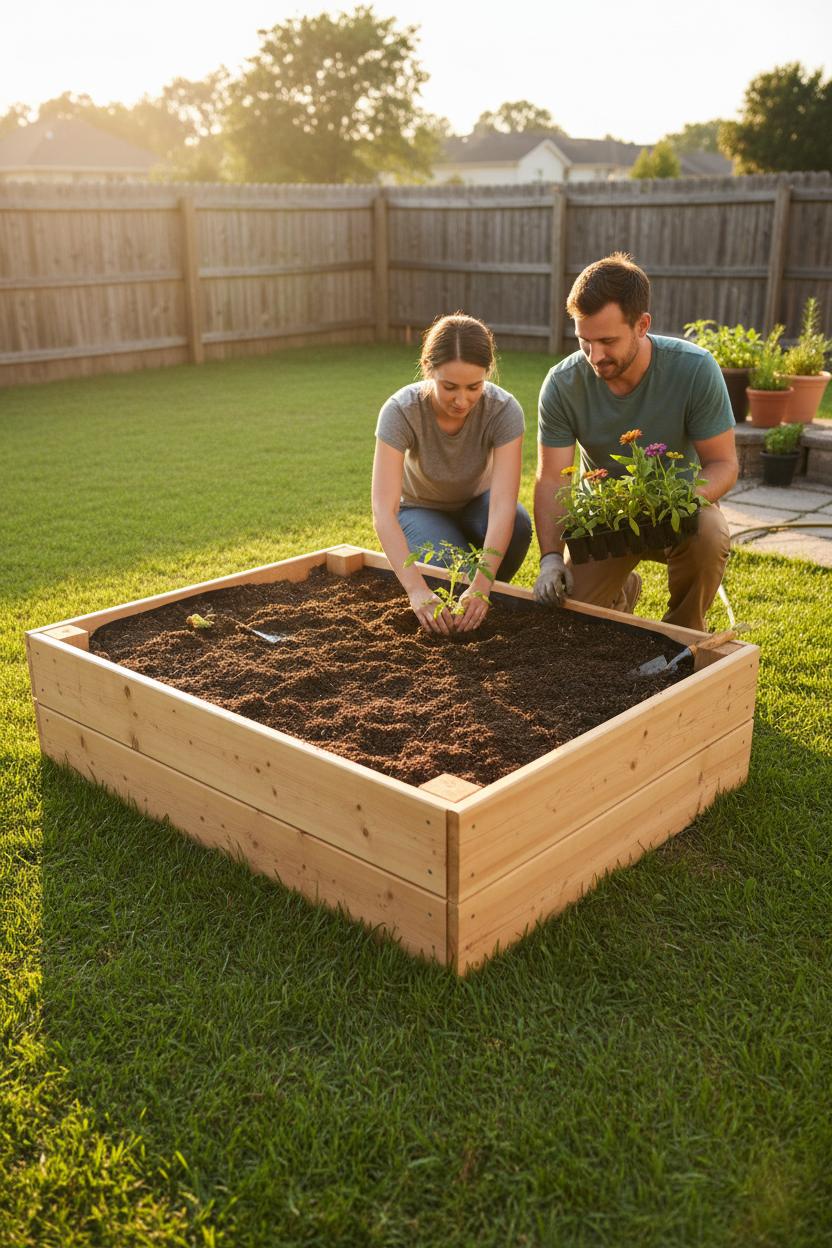
And the build itself can be wonderfully simple. A cedar raised garden bed kit snaps together in under an hour with basic tools, leaving most of your weekend for the fun parts—filling, planting, and styling. Top off the frame with your soil blend, nestle in tomatoes, greens, or zinnias, and, if you want to level up, tuck a drip irrigation kit under the mulch for set-it-and-forget-it watering. By Sunday evening, you’ll have a beautiful, productive focal point that invites you outside each morning with coffee in hand. It’s a small project with big payoff—proof that the best DIY garden moments often start with a single frame and a few simple supplies.
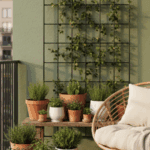
Before you screw together that first board, take a slow morning to watch how the sun actually moves across your space. In small space gardening, those sunbeams are currency. Fruiting crops like tomatoes, peppers, and cucumbers want 6–8 hours, while greens, herbs, and peas are satisfied with a gentler 3–5. If your patio is brightest from breakfast to lunch, reserve that real estate for tomatoes on a slim trellis along the north edge so they don’t shade everyone else. In a side yard that bakes all afternoon, think heat-lovers and add a reflective boost from a pale wall. Mapping light guides the shape, too: long rectangles along a fence or a snug U-shape that hugs a corner both make the most of raised garden beds without swallowing your whole weekend.
Next, give every plant its breathing room—tight, but not tense. Keep beds no wider than 3–4 feet so you can reach the center without stepping in, and place taller crops at the back or north side with climbers on trellises or arches to pull your garden up, not out. Try a loose square-foot rhythm: tuck a quartet of lettuces here, a cluster of carrots there, basil flanking tomatoes, and marigolds as cheerful, pest-distracting borders. If you’re assembling a cedar raised garden bed kit, line the bottom with weed barrier fabric, then fill with a fluffy garden soil mix blended with compost; containers and narrower beds love organic potting soil for extra drainage. This recipe supports intensive vegetable gardening while keeping roots happy and harvests generous, even in a sliver of sunlit deck.
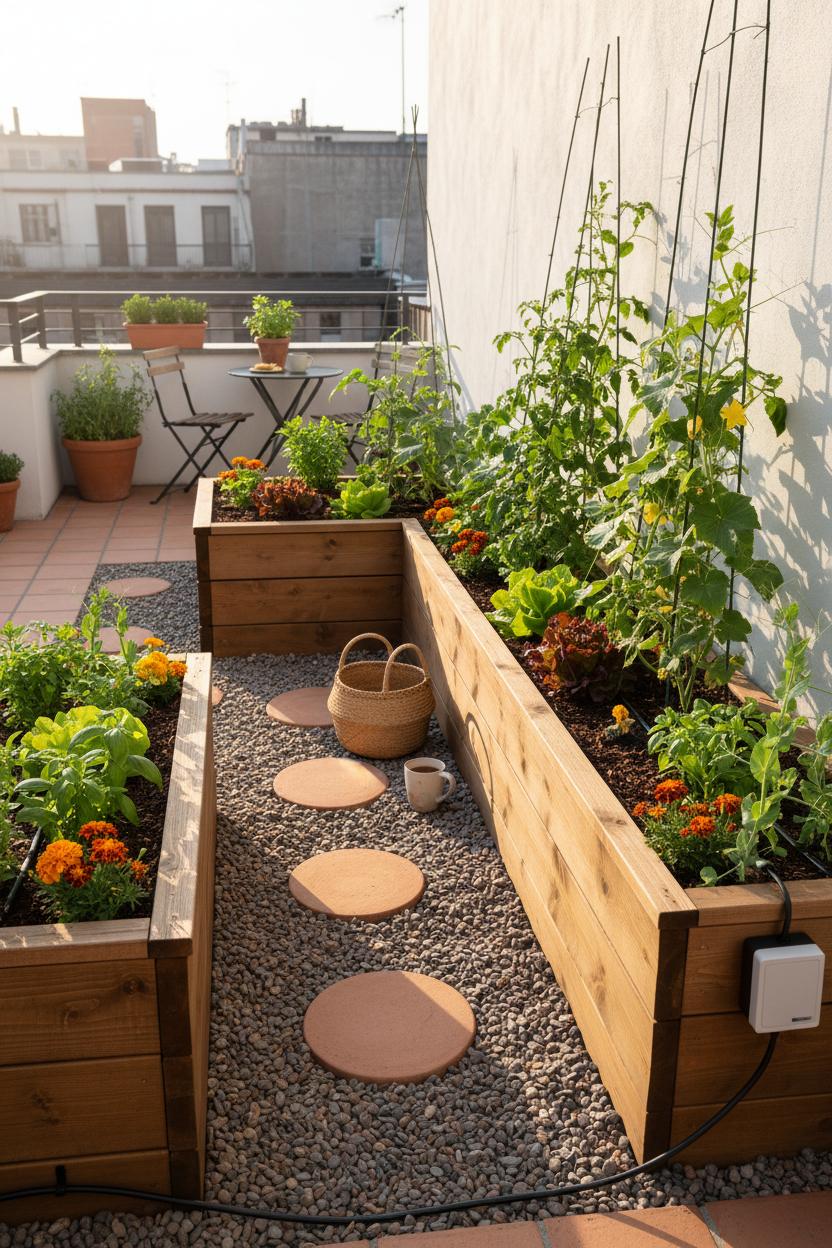
Finally, plan for easy access and effortless watering so your DIY garden feels inviting every day. Leave 18–24 inches for pathways or drop in stepping stones so you can glide through with a basket and a cup of coffee. A U-shaped or L-shaped layout lets you weed, prune, and harvest without acrobatics, and a simple drip irrigation kit on a timer turns hot spells into no big deal. Mulch pathways with bark or pea gravel to keep it tidy, and edge beds wide enough to perch while you pinch basil. The best garden ideas are the ones you’ll actually use—thoughtful flow, right-sized spacing, and sunlight-savvy placement that make small space gardening feel big, beautiful, and wonderfully doable.

Before you start cutting boards or unboxing anything, gather your tools so this DIY garden project flows like a sunny Saturday playlist. If you’re building from scratch, you’ll want rot-resistant boards (cedar or redwood), exterior wood screws, and a drill/driver; a saw and a square help you get crisp corners, while a level keeps the frame true. Prefer a shortcut? A cedar raised garden bed kit is a dreamy time-saver that still looks custom. Add a tape measure, pencil, and string line for layout; a rubber mallet for nudging corners into place; and a shovel, rake, and wheelbarrow for site prep and soil hauling. Don’t forget work gloves and eye protection—practical can still be pretty when you match them to your garden vibe.
Prepping the ground is where your beds win the long game. Clear the area, rake it smooth, and lay weed barrier fabric to block invaders and keep things low-maintenance; secure it with landscape staples so it doesn’t shift on a breezy afternoon. If burrowing critters are a concern, tuck hardware cloth beneath the fabric before setting your frames. For patios and balconies (hello, small space gardening), line planters with a breathable barrier and elevate them slightly for drainage. A simple trellis or a few bamboo stakes added now will save you scrambling later when peas and cucumbers start to climb—one of those small garden ideas that make everything look intentional.
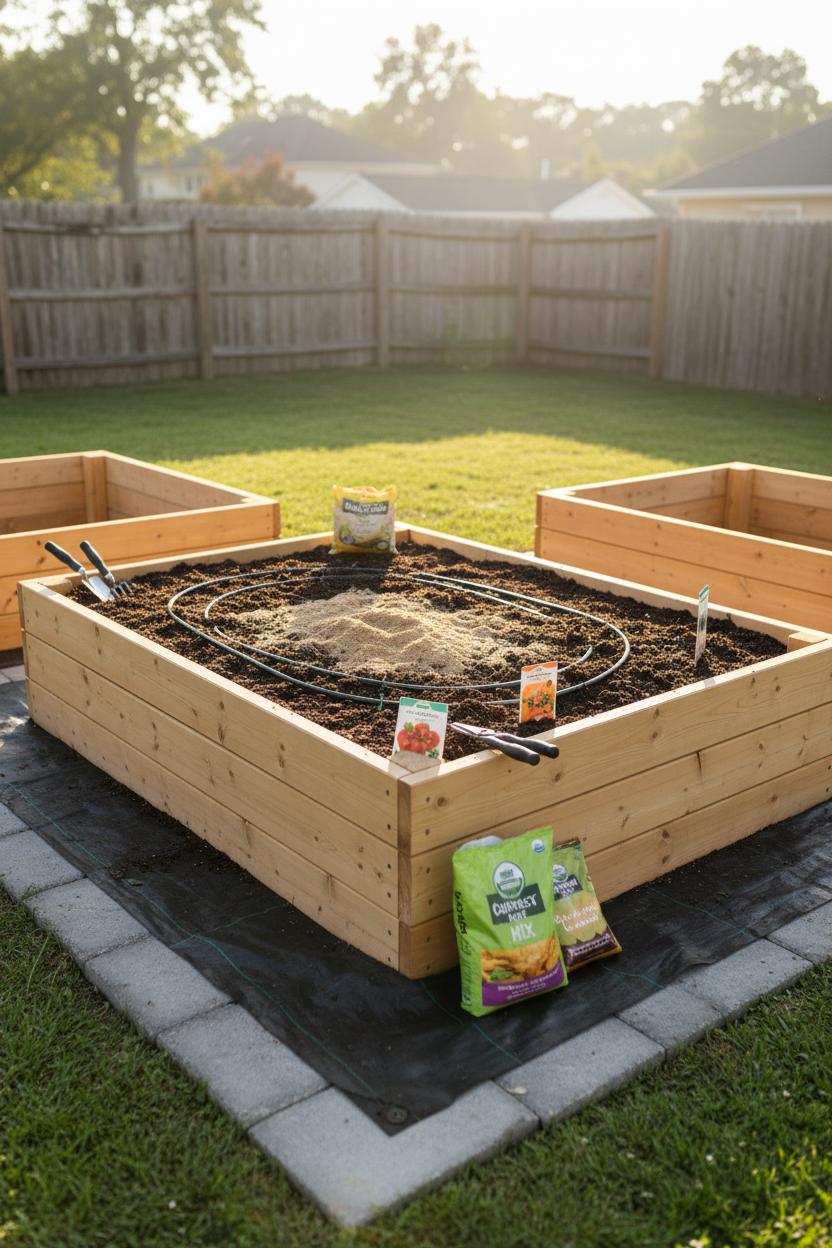
Soil and water are where raised garden beds truly shine. Fill with a rich garden soil mix amended with compost; blending in a bit of organic potting soil adds fluff and moisture retention that roots adore. A tarp makes mixing tidy, and a wide scoop or bucket speeds the job. Top with a light mulch to lock in moisture. For effortless watering, install a drip irrigation kit and, if you can, a timer—your future self (and your vegetable gardening dreams) will thank you during hot spells. Keep a hose with a gentle spray nozzle nearby, tuck in seed packets or starter plants, and step back to admire the neat lines and fresh promise. With these essentials corralled, your weekend project becomes a calm, creative ritual—and your DIY garden is officially open for business.
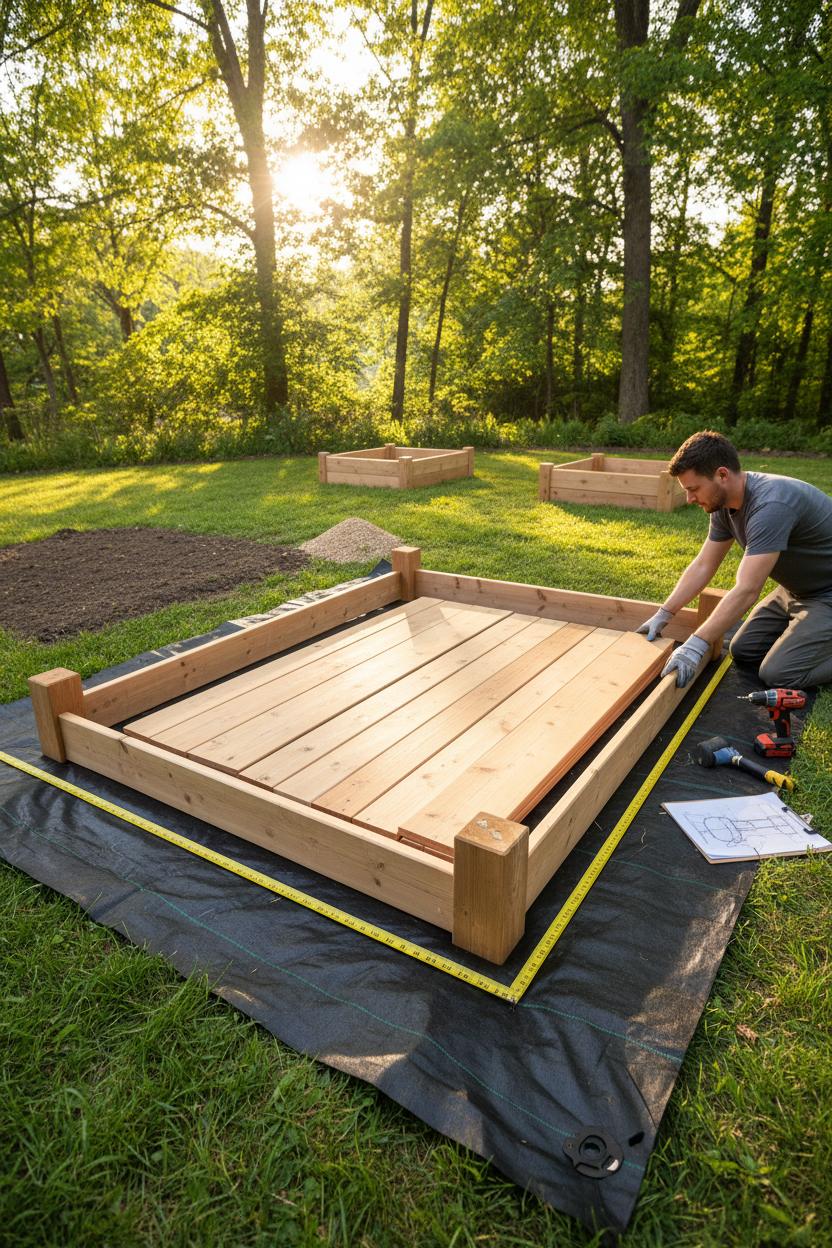
Start by choosing a sunny spot and unboxing your cedar raised garden bed kit like you’re unwrapping a weekend of possibilities. Lay out the boards and corner posts so you can “dry fit” the frame and visualize where it will live in your yard, balcony, or side yard. Measure the footprint, then rake the area smooth and tamp it down; a thin layer of gravel helps with drainage if your soil holds water. Roll out weed barrier fabric to keep invaders at bay, leaving a generous border to tuck up the inside walls later. Think about orientation—north to south often gives even light—and how your paths will flow once a couple of raised garden beds are in place. This little pause for planning pays off big in a tidy, low-maintenance DIY garden.
Assembly feels a bit like building with giant wooden blocks. Slide or screw the boards into the corner posts according to the instructions; a rubber mallet and pre-drilled pilot holes keep the cedar from splitting and make everything snug. As the sides come together, check for square by measuring corner-to-corner; even diagonals mean you’re spot on. If your kit includes cross braces, add them now to prevent bowing when the soil goes in. Pull the weed barrier fabric up the inside walls and staple it neatly so soil stays put and weeds stay out. Step back for a moment—this is the part where you can already picture tomatoes tumbling over the edge and herbs perfuming the air. Simple, sturdy, and so satisfying: the essence of good garden ideas.
To fill, blend a fluffy, nutrient-rich garden soil mix with organic potting soil and a scoop or two of compost; you want a mix that drains well but holds moisture for happy roots. Add soil in layers, watering lightly as you go to help it settle, and top off to about an inch below the rim. If you’re dreaming of effortless vegetable gardening, tuck in a drip irrigation kit before planting—it’s a small upgrade that makes a big difference, especially for small space gardening where every plant counts. Mulch the surface, pop in trellises for climbers, and start with a few favorites: cherry tomatoes, basil, lettuces, and marigolds for color and pollinators. Label, water, and admire—you just built a beautiful, productive bed that will keep your DIY garden thriving all season.
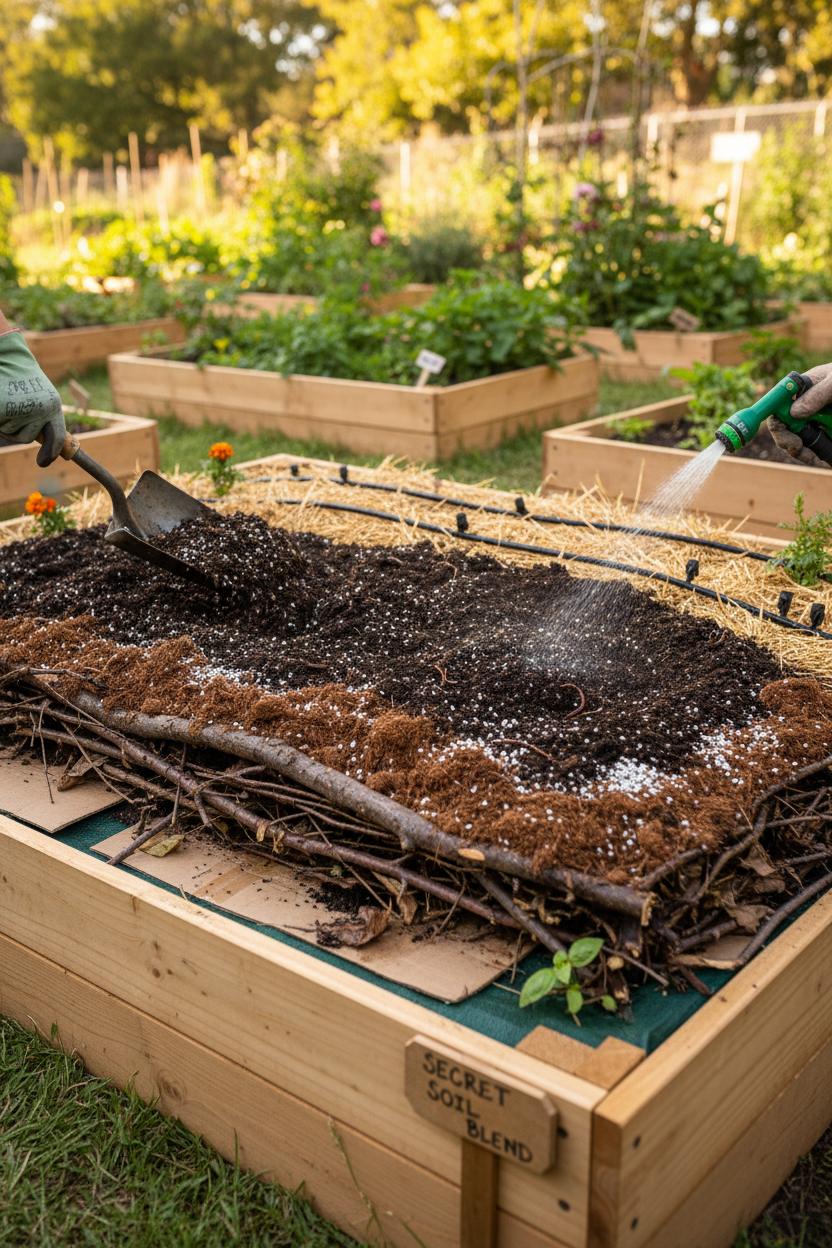
With your frames built and placed, it’s time for the most satisfying part: creating that rich, crumbly bed your plants will love. Aim for at least 10–12 inches of depth (go 12–18 for carrots, potatoes, and other root crops). If you assembled a cedar raised garden bed kit, set it in place, then line the bottom with overlapping cardboard to smother grass; if you battle invasive weeds, a breathable weed barrier fabric can help under the frame. For the fill, think airy, nutrient-dense, and moisture-holding: a classic garden soil mix is roughly 50% quality compost (a blend is best), 30% screened topsoil, and 20% aeration materials like perlite, vermiculite, or pumice. Alternatively, the beloved 1:1:1 blend of compost, coco coir or peat moss, and vermiculite makes a light, fluffy base perfect for vegetable gardening. Mix in a cup or two of organic, slow-release fertilizer and a scoop of worm castings per square foot for extra oomph. Building on a budget? Layer sticks, leaves, and coarse debris at the bottom, then top with your mix—this hugelkultur-style base saves soil and improves drainage as it breaks down. Moisten each layer as you go; your goal is a “wrung-out sponge” feel that holds together but doesn’t drip.
Finish with a 1–2 inch cap of sifted compost or organic potting soil for an ultra-smooth seed bed—seeds germinate more evenly in that fine texture. Water well and let the soil settle, topping off as needed. If you’re doing small space gardening, this is where raised garden beds shine: tuck lettuce along the edges, thread basil between tomatoes, and dot pollinator flowers at the corners. To keep watering effortless and consistent, lay a simple drip irrigation kit under a mulch blanket of straw or shredded leaves; you’ll lock in moisture, beat weeds, and keep foliage dry. Skip filling entirely with bargain topsoil (too heavy) or straight compost (can be salty and hot); the balanced blend above supports roots, breathes, and drains beautifully. Each season, refresh with a couple inches of compost and a light fork to fluff, and you’ll have a resilient, low-maintenance base for your DIY garden. For more garden ideas, think of your soil as the investment piece—get it right once, and everything you plant will look like it leapt off a Pinterest board.
Your first season is all about quick wins and delicious confidence boosts, so start simple and set yourself up for success. In raised garden beds, the soil warms faster and drains beautifully, which means seeds wake up earlier and roots stay happy. If you’re building from scratch, a cedar raised garden bed kit keeps things tidy and long-lasting, and a layer of weed barrier fabric at the bottom helps keep intruders out while still letting water flow. Fill with a fluffy garden soil mix boosted by a couple of bags of organic potting soil and a shovel or two of compost—light, nutrient-rich soil is the secret sauce of easy vegetable gardening, especially in a brand-new DIY garden.
Plant what grows fast and forgives beginner hiccups. Think leafy greens (butter lettuce, romaine, arugula), radishes that plump up in just a few weeks, bush beans that don’t need staking, and sugar snap peas that climb politely if you give them a little trellis. A single cherry tomato plant can be a summer-long snack station, and compact herbs—basil, parsley, chives, dill—tuck into corners beautifully for small space gardening. Choose compact or patio varieties where you can, and sprinkle in edible flowers like nasturtiums or marigolds for pollinators and a cheerful pop. One of my favorite garden ideas for beginners is to think in mini “zones”: a salad corner, a salsa corner, an herb border. Sow a little every couple of weeks for steady harvests, and don’t worry about perfection—raised beds are forgiving and lush even with casual spacing.
Water deeply, not constantly, and you’ll grow sturdier plants. If you love set-it-and-forget-it simplicity, a drip irrigation kit snakes through the bed and delivers water right to the roots with almost no waste. Mulch the surface with straw or shredded leaves to keep moisture in and weeds out, then give everything a weekly once-over: snip herbs to encourage bushiness, harvest greens with a cut-and-come-again approach, and tuck in another row of radishes when a patch opens up. Your first homegrown salad will taste like sunshine and effort in the best way—and that little burst of pride is exactly why DIY garden projects like this become a habit.
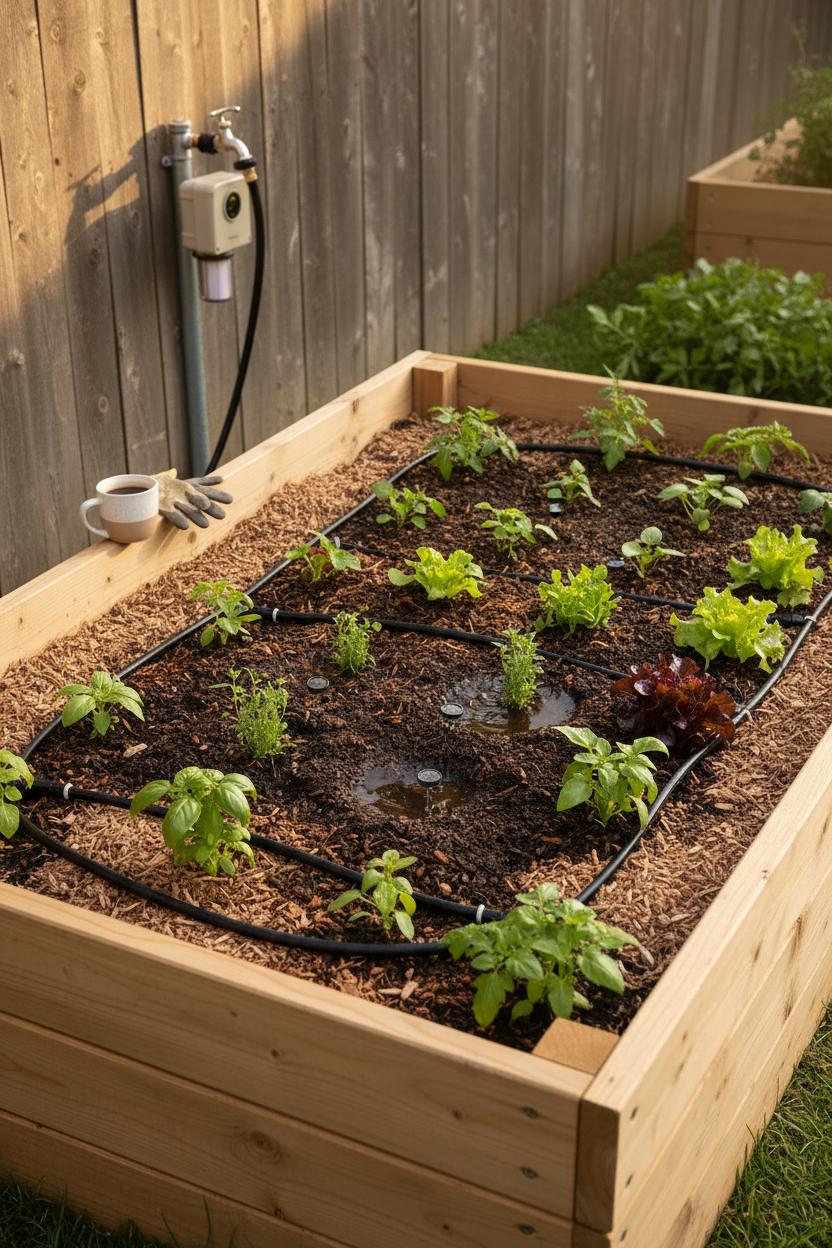
Once your raised garden beds are built and filled, it’s time to make watering as effortless as your morning coffee. A simple drip irrigation kit turns vegetable gardening into a set-it-and-forget-it ritual, delivering slow, even moisture right to plant roots without wasting a drop. It’s especially dreamy for small space gardening, where every inch counts and splashing with a hose can compact soil or invite disease. If you assembled a cedar raised garden bed kit over the weekend, slip the main tubing around the bed’s interior like a tidy frame, then snake slender lines through your rows. Place emitters beside each seedling—closer for thirsty tomatoes and cucumbers, a bit farther for herbs—and you’ll wonder how you ever fussed with sprinklers. Hook the system to your outdoor spigot with the included filter and pressure regulator, add a battery timer, and you’ve got vacation-proof watering that feels delightfully grown-up.
Before you tuck everything in, give your soil some love. A fluffy garden soil mix is perfect for most raised beds; top off transplant holes with a scoop of organic potting soil to pamper delicate roots, and if you lined the bottom with weed barrier fabric earlier, you’re already one step ahead of the weeds creeping in from below. After you lay the drip lines, blanket the surface with mulch to hide the tubing and keep moisture steady—think of it as a cozy quilt for your DIY garden. Turn the water on to test: you’re looking for gentle drips that darken the soil in saucer-sized circles. If a spot is too soggy or too dry, nudge an emitter closer or add a second one for bigger plants.
This tiny upgrade unlocks a world of easy garden ideas: morning coffee dates without a hose in hand, weekend getaways with zero plant guilt, and consistent harvests that taste like sunshine. Drip irrigation also keeps foliage dry, so basil stays perky and lettuces don’t sulk in the heat. Whether you’re corralling cherry tomatoes or a rainbow of salad greens, this is the small tweak that makes a big, beautiful difference in raised garden beds—clean lines, happy roots, and a rhythm that suits real life. Set the timer for early mornings, walk away, and let the garden glow.
Once your raised garden beds are tucked into place, the magic really happens in the quiet, consistent care. Make a weekly ritual of wandering your DIY garden with a mug of something warm, checking soil moisture with a finger test, snipping spent blooms, and harvesting anything that’s ready. In early spring, fluff compacted soil with a fork and top each bed with an inch or two of compost blended with organic potting soil or a rich garden soil mix to reset nutrients before the season starts. If you’re expanding, a cedar raised garden bed kit is a simple, pretty way to add more growing room without a full weekend of building. Lay weed barrier fabric beneath new beds or along paths to keep the whole space neat and reduce weeding time. And if you haven’t already, a drip irrigation kit on a timer is the ultimate lazy-gardener upgrade—steady moisture equals happier roots and fewer stress-induced pests.
Think in seasons and in layers. In spring, try succession planting: tuck in radishes between slower lettuces, or sow carrots where peas will finish by early summer. As temperatures rise, spread a 2–3 inch blanket of mulch to lock in moisture and keep soil life thriving. For small space gardening, grow up as much as you grow out—add trellises for cucumbers and tomatoes, and weave in basil, nasturtiums, and marigolds around the edges for pollinators and natural pest control. Feed lightly but regularly during peak vegetable gardening months; a compost tea or diluted fish/seaweed emulsion every couple of weeks keeps greens lush and fruits productive. Pick often to encourage more growth, rotate plant families between beds each season to prevent soil-borne issues, and do quick pest patrols at dusk, peeking under leaves and handpicking before small problems become big ones.
As summer fades, clear out spent crops and either sow a quick cover crop or blanket beds with shredded leaves to protect and enrich the soil. Autumn is perfect for slipping garlic and spring-blooming bulbs into a corner, and for seeding a late wave of cold-hardy greens you can shield with a simple hoop and frost cloth when nights nip. Clean and oil your tools, top off beds again if they’ve settled, and make a few cozy notes on what thrived. The best garden ideas often bloom in the off-season—so dream big, plan your next planting map, and let your raised beds rest, ready to burst into life when the light returns.
With a few boards, good soil, and a free weekend, you can turn any corner into a thriving patch. Raised garden beds make a DIY garden simple, stylish, and productive—perfect for vegetable gardening and small space gardening alike. Customize sizes, add trellises, and mix in compost; your seedlings will thank you. From balconies to backyards, these garden ideas grow beauty, flavor, and calm. So brew some tea, roll up your sleeves, and build the bed that fits your life. Plant, water, and watch your harvest—and confidence—rise. Save this for your next weekend project and happy growing!